 Coconut Mango Chicken
Ingredients:
12 Chicken Legs
1 can coconut milk
Dry Rub:
1 Tbs. paprika
1 tsp. cumin
1 tsp. garlic powder
2 tsp. salt
1/2 tsp. pepper
dash cayenne
Mango Glaze:
1 mango
1 tsp. fresh ginger
1 lime
1 tsp. sugar
1/2 tsp. cayenne
salt and pepper
1. In a large freezer bag, put the chicken and a whole can of coconut milk with about 1 Tbs. salt. Allow to marinate in the fridge overnight. You could give it less time if you want, the longer the better. Up to 24 hours.
 2. Place the chicken legs onto a baking tray and sprinkle them generously on both sides with the dry rub. Cover the tray tightly with foil and cook in a 350 degree oven for 1 hour.
 3. To make the mango sauce, peel and slice the mango and place into a blender (I used my magic bullet of course). Add coarsely chopped ginger, juice of the lime, sugar and the cayenne. Also add a small sprinkle of salt to bring out the flavors.
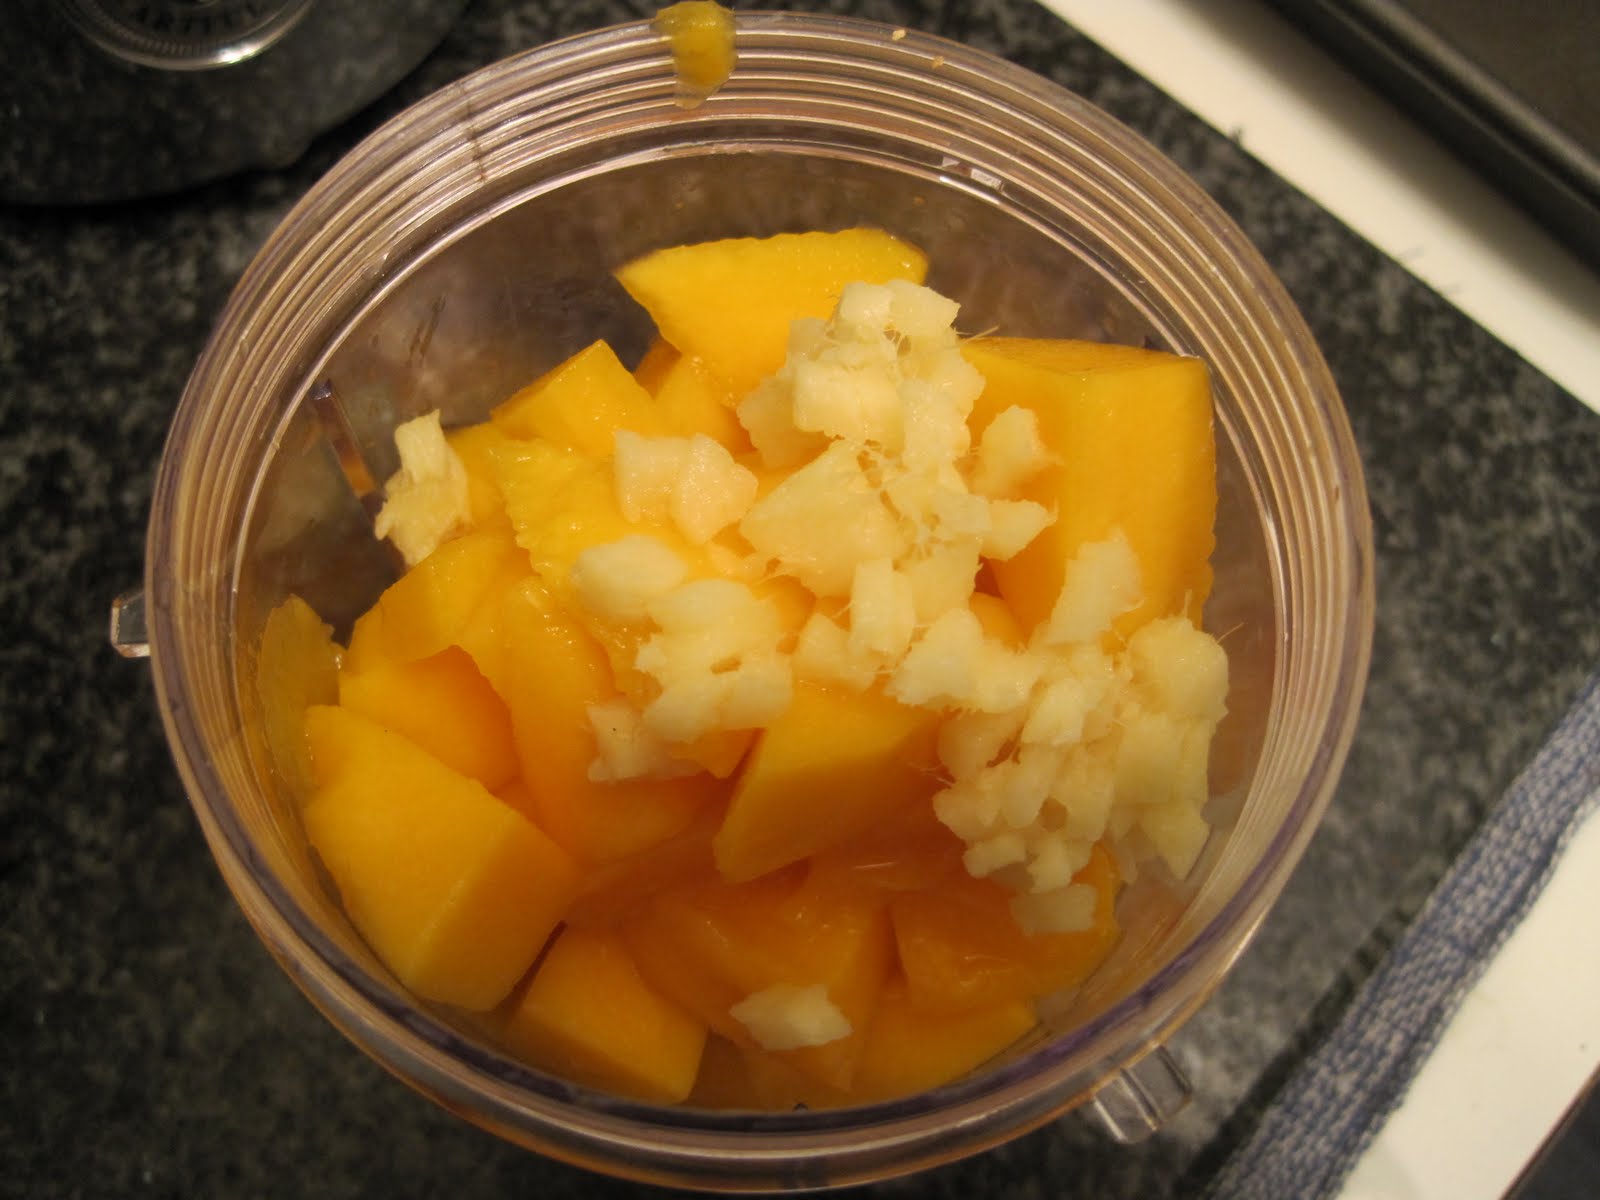 4. Blend this mixture until smooth.
 5. When the legs are finished slow cooking, remove the foil and drain the liquid that has formed at the bottom of the pan.
 6. I like to remove the chicken and put a baking rack onto the pan at this point. Then I place the chicken on top of the backing rack so that the broiler almost mimics a grill. Doing this also quickly dries out the skin so that it gets very crispy, leaving the inside meat nice and tender. This step is optional. You could leave the chicken right on the pan. Slather the chicken with the glaze and place under the broiler.
 7. After 10 minutes (or until crispy), flip the legs and glaze the other side. Return to the oven for another 10 minutes (or until they are crispy).
 They will be juicy, tender, and a whole lotta delicious.


No comments:
Post a Comment