Showing posts with label breakfast. Show all posts

Friday, March 14, 2014

Pear Oat Muffins

Happy π Day, math nerds!  I've been on a bit of a home repair tear lately, so my cooking is suffering.  But I got a very sweet reminder to post from my newborn cousin who is surprisingly adept at Facebook for her age.  So I give you a delicious breakfast treat.  These muffins are filling, slightly sweet, and totally delicious.  They puffed up into a glorious golden dome much better than my muffins usually do.  I think this is because of the right ratio of wet to dry ingredients, but MORE importantly because I just brought new baking powder and baking soda.  I never really "run out" of these things, so I rarely think to replace them when I'm at the store.  But this is a good reminder that my baked goods are always greatly improved when I am using fresh ingredients.  I happen to be hosting my 3 favorite people who are not named Mark this weekend and I will feed these muffins to them.  While my sister, mom, and dad are busy chewing...they'll be too busy to drive me (and my long-suffering husband) crazy :)
Pear Oat Muffins (makes 24 muffins)
Ingredients:
1 cup oats, plus 2 Tbs. for topping the muffins
1 1/2 cups all-purpose flour
1 cup whole wheat flour
3/4 cup sugar
1 Tbs. baking powder
1 tsp. baking soda
1/2 tsp salt
1/4 tsp cinnamon
2 ripe pears (chopped ripe)
3/4 sour cream
1/4 cup vegetable oil
1 Tbs. vanilla extract
2 eggs

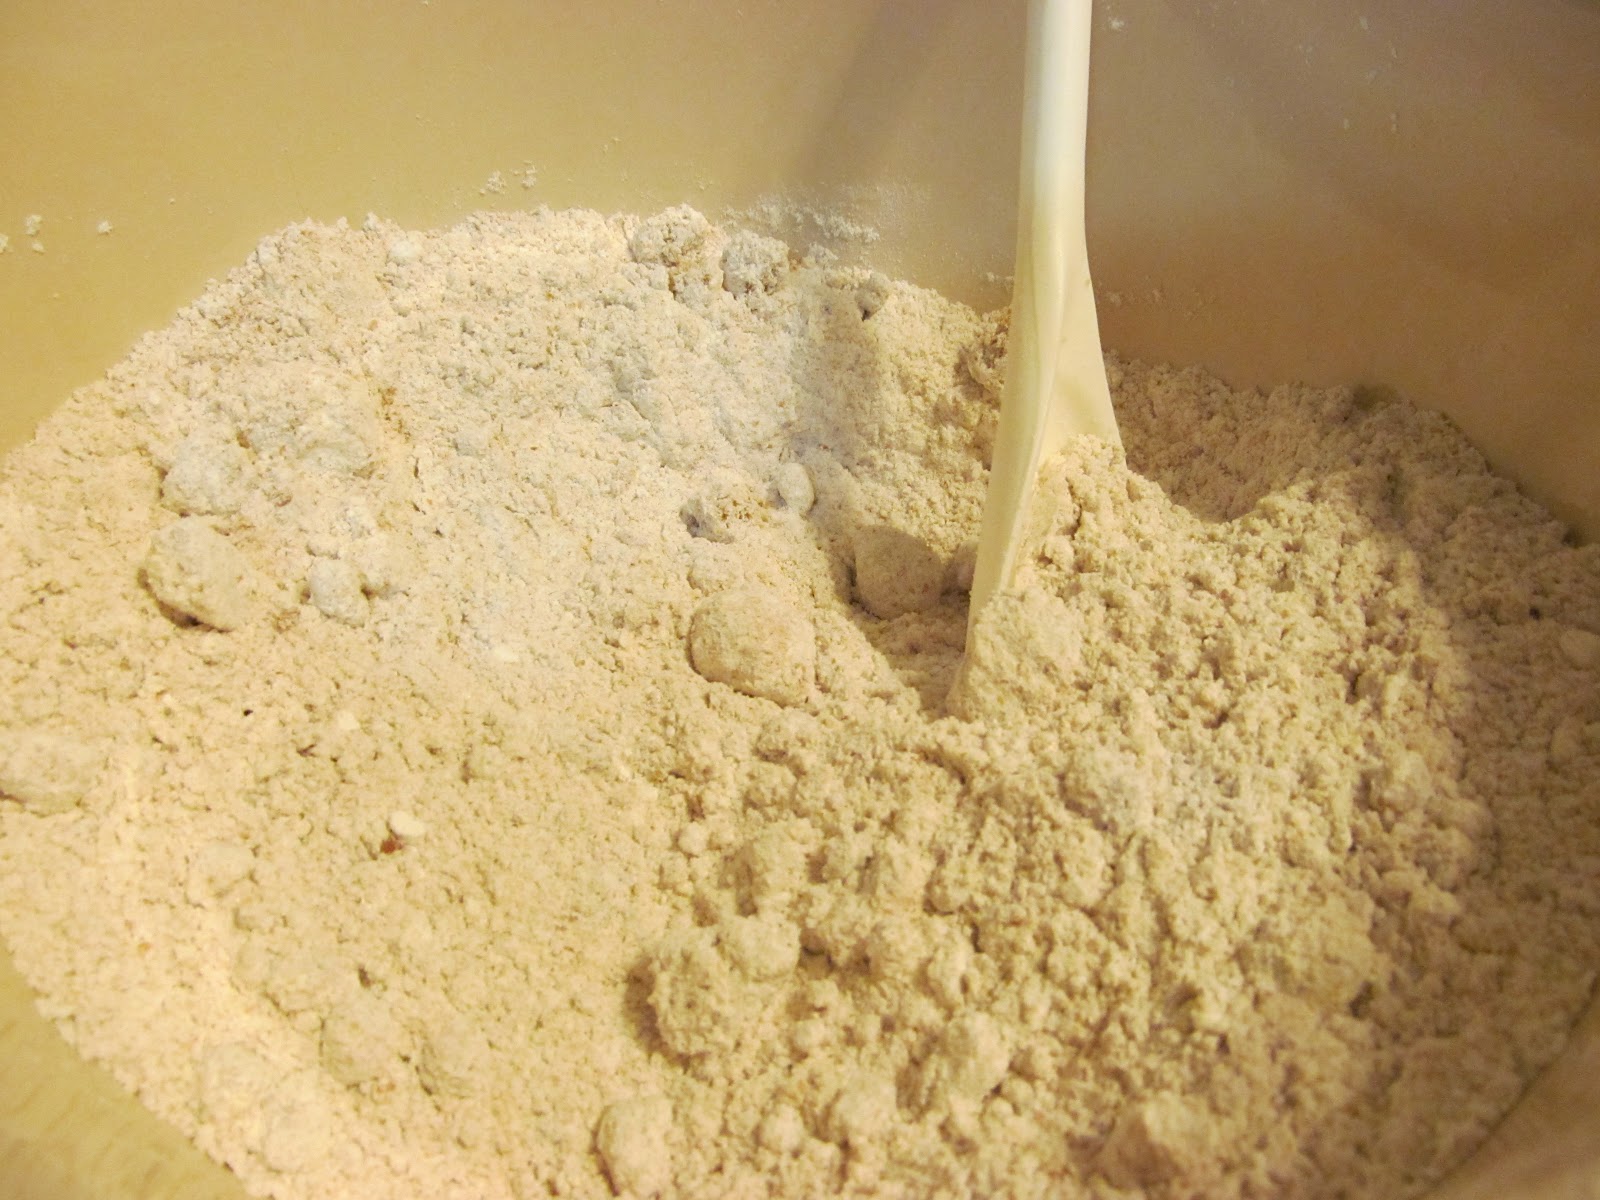
1.  Preheat oven to 400 degrees and combine your dry ingredients together in a large bowl.
2. Peel and grate the pear using a box grater.
It will be very juicy - that's good you want the fruit and the juices.
3.  Whisk together sour cream, oil, vanilla, and eggs.
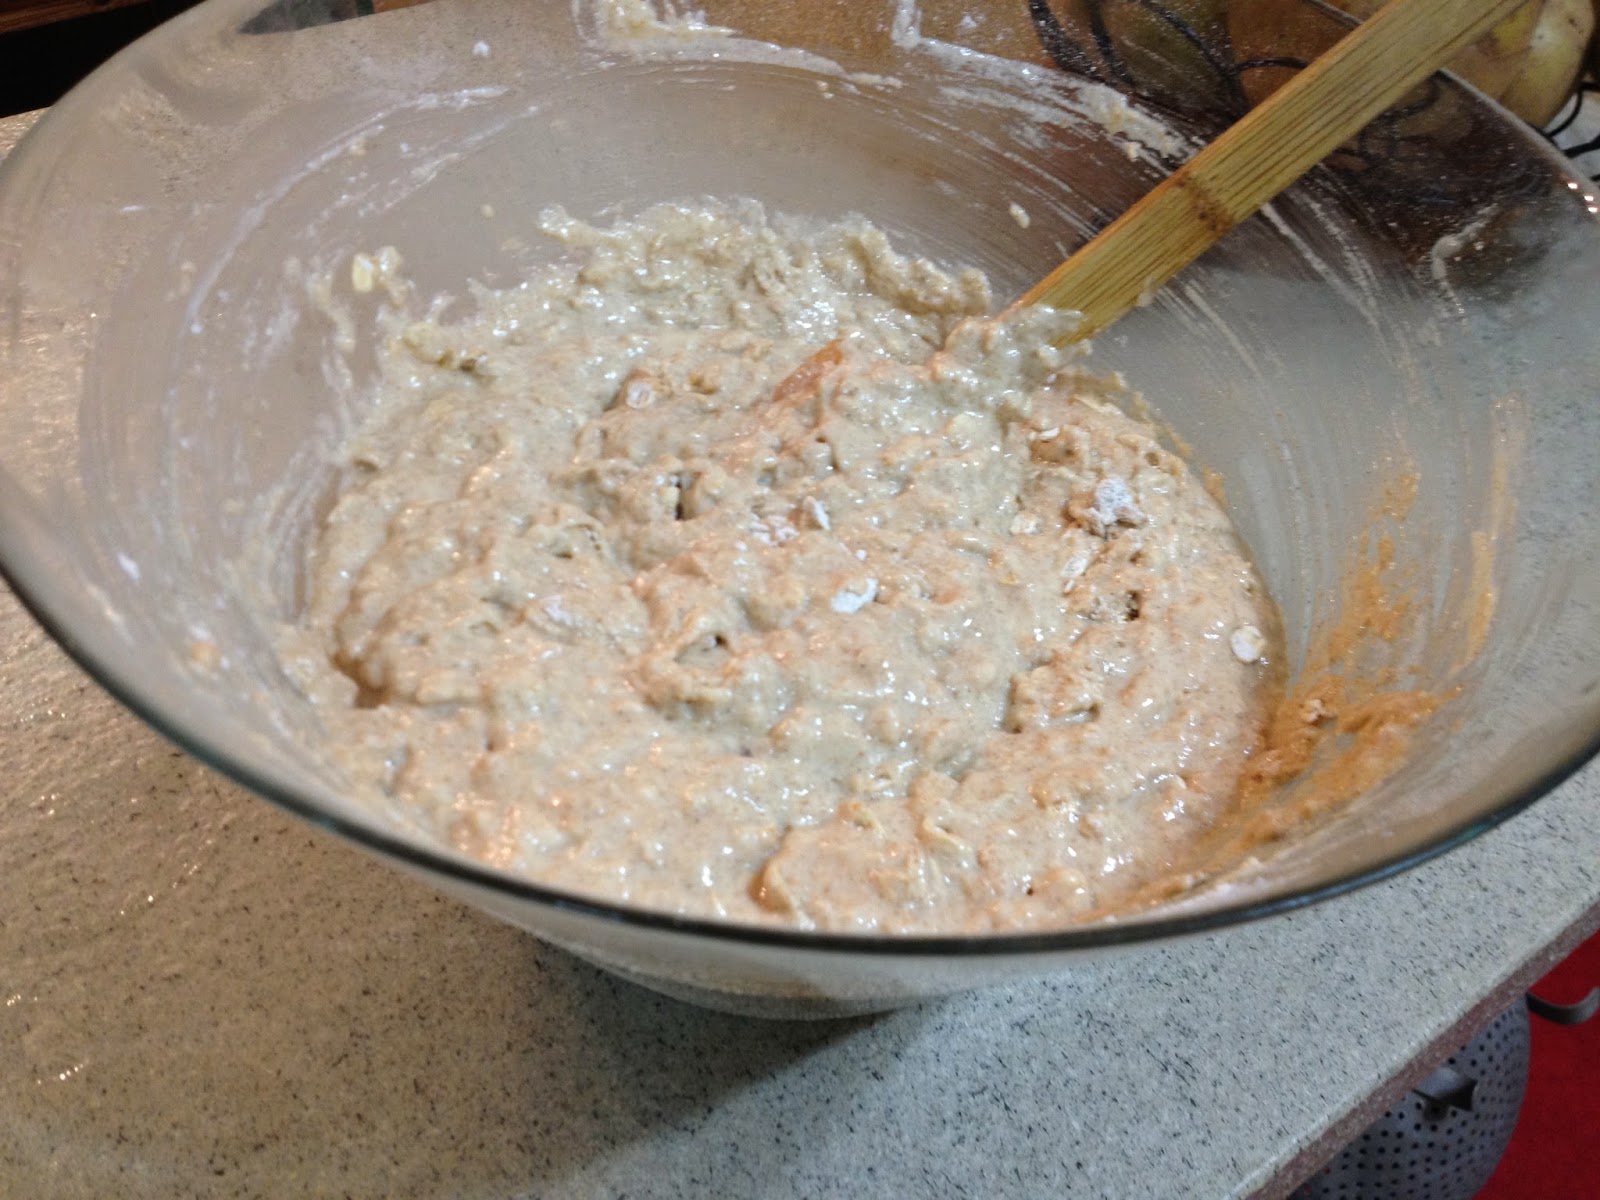
4.  Mix the pear and wet ingredients into the dry until just combined.
5.  Evenly divide the batter between 24 muffin tins and sprinkle the top with the remaining 2 Tbs. of oats.
6.  Bake for 18 minutes until slightly golden and puffed up.
7.  Remove from the pan and allow to cool on a rack.
Best the same day, but they will keep fresh in an airtight container for a few days.

Monday, November 18, 2013

Overnight Crock Pot Apple Butter

This has been a very happy week in our family. We welcomed our newest little family member on a very special day for math nerds everywhere: 11/12/13! I can't wait to meet little Miss Maisie and give her tons of smooches and snuggles! In her honor, I am getting back in the saddle and posting a delicious treat. Mark took me away to the Inn at Little Washington for my birthday. We stayed in a beautiful cottage a few blocks away and it was one of the loveliest places I've ever been. Amazing food aside, the views alone were magnificent. Rolling hills and fall colors as far as the eye could see. It was really the perfect weekend...the perfect weekend for being suckered into buying a bushel of apples when all we really wanted was one small bag. In fairness, the bushel was only twice the price of the small bag and I can never walk away from a good deal. We found ourselves the happy owners of more apples than any two people could ever want or need. In an effort to use as many apples as possible, I made apple butter. It turned out to be so smooth, creamy and rich. The perfect treat for toast, a peanut butter sandwich, or a sweet treat after dinner. It is so perfectly fall and so easy to make that I can't wait to be suckered into mass apple purchasing in the future. This made 6 pints of apple butter, so it is also great to give as a gift.
Overnight Crock Pot Apple Butter
Ingredients:
10 large apples (I used 6 large granny smiths and a combination of 6-8 random small apples)
1 cup white sugar
1/2 cup brown sugar
1 tsp. cinnamon
1/2 tsp. nutmeg
1/2 tsp. salt
1 cup apple cider (or juice)
1/2 cup champagne
1/2 cup orange juice
1.  Turn your crock pot on High and add the sugars, spices, salt, and liquids.  I had a leftover, open bottle of champagne, so I used some of that in the recipe.  You certainly don't need it.  Dry white wine, apple cider/juice or water will work just fine too.
2.  Peel and slice your apples into about 1-inch pieces.  This will take a while, but turn on some good music and try to enjoy the process.
3.  Add the pieces of apples to the crock pot as you chop, so they are in the cooking liquid and you won't have to worry about them oxidizing and turning brown.
4.  Once you've peeled and chopped all the apples, you're crock pot will be full!  Toss the apples to coat evenly with the sugar/spice liquid.  I used my best tools...my hands. 
5.  Cook for 2 hours on high heat.
6.  Turn down to low and cook overnight (8-10 hours).  In the morning, your house will smell amazing.  Also, you will be ready to make your apple butter.
7.  You will NOT need all the cooking liquid for the apple butter, so use a slotted spoon to gather the apples from the crock pot into your food processor or blender.  Add 1/2 cup of the cooking liquid to start blending.  You can add more, as needed to get the consistency you like.  I like it thick, so I only used about 3/4 cup total.
8.  Scoop the apple butter into you waiting jars, seal, and enjoy! 

Tip:  Since I am not canning the apple butter for use much later, I do not go in for the full canning process.  I wash the jars and lids in the "sterilize" cycle of my dishwasher and use them right away with the hot apple butter.  The jars are best when stored in the fridge and enjoyed withing 3 weeks.

I am eating it on everything!
If this isn't the perfect setting to buy a whole bushel of apples, I don't know what is...


One Year Ago: Peruvian Roast Chicken
Two Years Ago: Cauliflower Gratin
Three Years Ago: Katie Thomas' Kennedy's Award Winning Meatballs

Monday, March 18, 2013

Corned Beef Hash

If you made a delicious dinner of Corned Beef and Cabbage yesterday, the only logical thing to do today is make corned beef hash.  Corned beef hash is one of my favorite dishes.  I actually had my first version in Richmond a few years ago, so I am late to the hash-game.  Better late than never.  I love the salty corned beef, tender yet crispy potatoes, sweet onions, and over easy egg all working together to make me a very, very happy lady.  I used cooked potatoes from my prior night's dinner.  They were fully cooked and I just cubed them.  If you don't have cooked potatoes around, you can either boil or microwave the potatoes to get them started.  Then add them to the hash as directed below.  This is a wonderful lunch or dinner with a side salad.  It is obviously also an amazing breakfast.  Really just the perfect meal.  I may not be Irish (well...technically corned beef is a Jewish thing), but so I can get behind corned beef hash any day of the week.

Corned Beef Hash
Ingredients:
2 cups diced, cooked potatoes
1 cup chopped corned beef
1 medium onion
1 diced jalapeno
1 Tbs. butter

1.  Dice the onion, jalapeno, and garlic.  I remove the jalapeno seeds because I don't want super heat, just a hint.
2.  Heat the butter over medium heat and saute the onions, garlic, and jalapeno for 2-3 minutes.
3.  Cube your cooked potatoes.  Turn heat to high and add the potatoes to the pan.
4.  Chop the corned beef into bite-size hunks.  I like to keep it in hearty enough pieces that you can really tell you are eating corned beef hash.  Add this to the pan.
5.  Spread the has out all over the pan and press down with a spatula.  Allow to cook on high heat for 6-8 minutes, until you get a nice crust on the bottom of the pan.
6.  Toss the hash and repeat this process 3-4 times, until you have lots of crispy hash.
7.  Make 2 sunny-side-up or over easy eggs to go with the hash and enjoy!

One Year Ago:  Fish Fry with Lemon Zest (for those going meat-free for Lent)
Two Years Ago: Rosemary, Garlic, Caper Rubbed Lamb Chops

Friday, September 7, 2012

Cracked Pepper Buttermilk Biscuits

The only thing Southern about me is Southern New Jersey.  Land of milk, honey, and biscuits in a can.  Acting like you don't enjoy the "POP" of a can of biscuits is frowned upon.  Even so, sometimes a homemade biscuit has a place even in my home.  I was making a very special meal of fried chicken, zucchini succotash, and homemade biscuits for a pre-Breaking Bad season finale dinner party.  The succotash and these beautiful biscuits made it out unscathed, but as soon as I dropped the painstakingly beautiful chicken in the hot oil, our power went out.  Horror!!  Mark and I quickly gathered everything that we could salvage and head over to casa de Bard, where we finished cooking and feasted our bellies before feasting our eyes on a great hour of television.  Back to the biscuits.  You want your ingredients to be very cold so that when they go into the hot oven, they quickly release steam. This is what makes them very flaky.  That is why you freeze the butter and keep the buttermilk very cold.  If you don't have a food processor, you can use a pastry cutter or your hands or two knifes or forks to cut in the butter.  It will take longer, but it will still be very delicious.
Cracked Pepper Buttermilk Biscuits (adapted from Completely Delicious)
Ingredients:
2 cups flour
2 tsp. baking powder
1 tsp. baking soda
1/2 tsp. salt
1 stick butter
3/4 cup buttermilk
1 egg and 1 Tbs. buttermilk for brushing on the biscuits

1. Cut butter into cubes and put in the freezer for 30 minutes.
2. Put flour, baking powder, soda, and salt in your food processor and pulse a few times to mix.
3. Add the butter and pulse 5-10 times.
You want to consistency of wet sand.
4. Add the buttermilk and pulse 5-10 times until the dough comes together.
5. Turn the dough out onto a lightly floured board and knead it once or twice into a ball. You do not want to work the dough too much.
6. Roll out about 1 inch thick and cut out into discs. I use a plastic cup, since I don't have a biscuit cutter.
7. Place on a baking sheet. Beat together egg with 1 Tbs. buttermilk and brush that over the biscuits.
8. Top with freshly cracked pepper.
9. Bake in a preheated 425 degree oven for 12 minutes, until golden brown.
One Year Ago: Okra and Corn Saute
Two Years Ago: Smores fit for THE King

Friday, August 3, 2012

Homemade Bacon

Sometimes you feel like a nut. That is exactly how I felt when I undertook making my own bacon. Only people who are totally nuts would do something like this. Turns out, I was right. I am a nut. Making your own bacon is a truly pointless endeavor. Kinda like making your own beer. You can make it at home, but you can buy stuff that is way better at the store for a lot less effort. Even so, when Mark's meat CSA produced a big ol' hunk of pork belly, I knew what had to be done.  I did a lot of research about nitrate vs. nitrate-free bacon and I came to the conclusion that I don't care that much about nitrates.  However, it turns out that you have to order the nitrates (pink salt) online and I am too lazy for that.  Nitrate-free it is.  So the bacon won't be super pink, but it will still be delicious.  I'm sure all of this cheerful talk is making you want to run right out and get some pork belly to make your own bacon.  All kidding aside, this is a fairly passive exercise in curing meat.  It isn't hard to do, it just takes time and pacience.  If you've got those things (and a hunk of pork belly) you can make bacon at home and you will be super proud of yourself when you are chowing down on your very own creation.  You can change the herbs taht you use for the cure.  I've seen people use things from maple syrup to coffee, but for a first timer, the traditional items are a good start.  I would say that this was actually fun to make and it is, of course, fun to eat. 
Homemade Bacon
Ingredients:
2 1/2 lb. pork belly
1/2 cup kosher salt
1/2 cup sugar
2 Tbs. whole peppercorns
4 bay leaves
4 cloves garlic
1 sprig rosemary
2-3 sprigs thyme

1.  In a bowl, combine all of the ingredients (except the pork belly).  I smashed the garlic up pretty good before throwing it in.
2.  Rub it all over the beautiful pork belly and seal it tightly in a plastic bag. 

3.  Leave it in the fridge for 7-10 days.  Flip it over every day or so.
4.  Remove from the fridge and wash it off very thoroughly in cold water.  Once you think you've rinsed it off enough, continue to rinse it for another 2-3 minutes.  The flavors and salt have really penetrated the meat.  You don't want excess salt on the surface or your bacon will be too salty.
5.  You can finish it one of two ways:  oven or grill.
      Grill:  Heat charcoals over half of your grill, leaving the other half for indirect heat.  Place the pork belly over the indirect heat to smoke it for 2 hours until smoked through.  I turned it every 15 minutes or so.
      Oven:  Roast the pork belly at 250 degrees for 2 hours.
6.  Allow to cool before slicing thick (or thin) to make bacon.
Look at how beautiful it is!!
Fry up and enjoy.
Yum, yum, yum!

One Year Ago: Chocolate Chocolate Chip Cookies
Two Years Ago: Broccoli Salad

Monday, July 2, 2012

Chocolate Chip Zucchini Bread

During the summer...stuff happens.  Everyone is really busy and a zucchini that looked itty bitty one day can be elephant size in no time.  They aren't that great to saute for dinner, but an over-sized zucchini monster is the perfect time to break out a good zucchini bread recipe.  The best zucchini bread is super moist and full of cinnamon and nutmeg.  It is a summer staple that I've loved forever.  Some people like to squeeze the excess water out of the zucchini to concentrate the flavor.  I do not do this because I want to keep all that delicious moisture locked into the bread!  Better super moist cake than super zucchini-ish flavor, right?  Right.  Here's a hint.  If you have tons of zucchini, make this recipe up and give it to your neighbors.  They will love you so much more than if you just unload piles of raw veggies on their doorstep, I guarantee it!  I love making it in a square 10x10 pan so that I can slice up huge sections, wrap them in plastic and give them away as treats for friends.  You could also do 2 loaves or about 18 muffins instead.
Chocolate Chip Zucchini Bread
Ingredients:
1 1/2 cups white flour
1 1/2 cups wheat flour
1 tsp. baking powder
1 tsp. baking soda
1/2 tsp. salt
2 tsp. cinnamon
1/4 tsp. nutmeg
1 cup brown sugar
2 eggs
3/4 cup plain yogurt
1/3 cup milk
1/3 cup oil
1 tsp. vanilla
2 1/2 cups shredded zucchini
10 oz. bog dark chocolate chips

1.  Mix together all of the dry ingredients in a large bowl.
2.  Whisk together all the wet ingredients until combined well.
3.  Shred the zucchini in the food processor or with a box grater.
4.  Toss the chocolate chips with 1 Tbs. flour so that the chips don't sink to the bottom of your bread.
5.  Add the wet ingredients to the dry ingredients and mix until just combined.
6.  Add the zucchini and chip and again mix until just combined.  You do not want to overmix.
7.  Spray a 10x10 pan with non-stick spray and pour batter into the pan.
8.  Bake in a preheated 350 degree oven for 50 minutes, until cooked through but still very moist.
9.  Allow to cool before removing from the pan and slicing up!

One Year Ago: Lemon-Parmesan Crusted Tilapia
Two Years Ago: Greek Orzo Pasta Salad