Showing posts with label sandwich. Show all posts

Monday, April 8, 2013

Sausage and Pepper Sandwich

Every single family* who lived/s in the suburbs of Philadelphia makes some variation of Sausage and Peppers for dinner at least once a month. Preferably more. We were one such family. We are not Italian. Not even close.  Sweet bell peppers sauteed with onions, garlic, and diced tomatoes melds perfectly with the spicy and sweet sausages to form the most amazing meal.  It can be made into a sandwich (most popular) or eaten with pasta.  We added grated cheese to the sandwich, but you could certainly use sliced provolone instead and that would also be amazing. I really love this meal both for the nostalgia but also for the delicious ness factor.  Also, when you think about the fact that this sandwich is actually half vegetables, how bad could it really be for you?  Practically health food!
Sausage and Pepper Sandwich
Ingredients:
3 bell peppers (the more color the better)
2 onions
3 cloves garlic
3 each - hot and sweet Italian sausages
1 can petite diced tomatoes
1/2 cup white wine
1 Tbs. Italian Seasoning
Grated Parmesan cheese (to top sandwich)
salt and pepper
olive oil

*Fine.  Maybe not EVERY single family, but most of them, anyway.

1.  Slice peppers, onions, and garlic.
2.  Heat 2 Tbs. olive oil in a large pan over medium-high heat and add sausages.  I like to cut mine into 1 inch pieces so that I have have hot and sweet sausages in my sandwich, but you can cut them any way you like.
3.  Once the sausages are browned nicely on both sides, add the vegetables, sprinkle with salt and pepper, and saute for 5 minutes, until they begin to soften.
4.  Add the tomatoes, Italian Seasoning, and wine and cover.  Allow to cook down for 20 minutes or so, until the vegetables are cooked down and the sauce has thickened.

5.  To make the sandwiches, toast your roll slightly (I think a toasted roll holds up better to this sloppy sandwich, but if you like it un-toasted, go for it) then top the roll with sausages and peppers.  Add grated cheese or a slice of provolone to the top to finish.
Enjoy!

One Year Ago:  Veggie Quiche

Wednesday, June 20, 2012

Ricotta, Beet, and Arugula Sandwich

This sandwich was born out of a rummaging trip to my fridge. I had a few roasted beets, a little bit of ricotta and a beautiful loaf of bread. I also have a gigantic garden box full of arugula that I can't keep up with as it is. Mix them all together and this sandwich came out. I made it for Mark to take in for lunch too and he wasn't even that annoyed.  We decided that this sandwich was best made and then sliced up as appetizers, but that is because too many vegetables make him nervous.  I like the idea, though and will make and eat it both ways. 
Ricotta, Beet, and Arugula Sandwich
Ingredients:
2 roasted beets
2 Tbs. ricotta cheese
1/4 cup arugula
salt and pepper

1.  I had a very fresh loaf of bread, so I didn't toast it, but you certainly could if that is your preference.  Make two nice slices and slather one side with ricotta cheese.  Sprinkle the cheese with salt and pepper.
2.  Thinly slice the roasted beets (to roast, rub them with oil, wrap in foil and place in a 350 degree oven for 45 minutes.  The skins will slip off and you will have roasted beets).
And use them to top the ricotta.
3.  Add your arugula.
You are ready to go!
I sliced it for ease of eating.  Yum, yum. yum.

One Year Ago: Machine Gun Sandwich in Salt Lake City
Two Years Ago: Honey Butter Cornipops

Monday, April 4, 2011

Buffalo Turkey Meatball and Chicken Sausage Sandwiches

I have a coworker who is kosher-light, meaning he doesn't eat pork or shellfish. I also have a best friend who is vegetarian-light meaning that she only eats poultry and seafood. When I load up a crock pot full of meatballs in their presence, I want them to be able to enjoy the contents but I also want the other pork and beef loving people around to love what they are getting too. This presents a conundrum. This means making a meatball that is so flavorful and a sauce that is so rich and delicious that people won't be asking "Where's the beef?" Now I've ventured into the non-wing Buffalo Sauce department before to great success. Why shouldn't this work in the meatball sandwich arena? Let me tell you that it does. It is a sensation. Spicy but not overpowering, these sandwiches are absolute perfection. They key is that they are small so you can eat two. I loaded them up with a simple blue cheese sauce. mark generally doesn't like to eat leftovers, but even he was gobbling these up for lunch the next day, and the next day. I think this is the-big-game watching food at its best. Buffalo Turkey Meatball and Chicken Sausage Sandwiches
Ingredients:
1 lb. ground turkey meat
1 egg
2 spring onions
3 garlic cloves
red pepper flakes
1 small can tomato paste
1/2 cup hot sauce
2 cups tomato sauce
salt and pepper
1. To make the meatballs, combine ground turkey, egg, chopped garlic and spring onions, 1 tsp. salt, 1/2 tsp. pepper, and a sprinkle of red pepper flakes in a bowl. Use your hands to make sure the mixture is well combined. 2. Make tablespoon-sized meatballs (which are on the small side) and drop them onto a foil-lined and non-stick sprayed baking sheet. 3. To make the buffalo sauce, combine tomato paste with buffalo sauce until smooth. 4. Use a brush to basically paint a layer of sauce onto the meatballs. If you don't have a brush, you can use a spoon. 5. Bake the turkey meatballs in a preheated 450 degree oven for 10 minutes until browned. They won't be cooked through, just caramelized for more flavor. 7. Slice the chicken sausage into small, bite-size pieces. 8. Combine tomato sauce with the hot sauce mixture and put into a crock pot. If the mixture is very thick, you can thin it out with some beer or water. Add the meatballs and chicken sausages and cook on low heat for 4 hours until the sausages are cooked and all the flavors have melded. (If you are more pressed for time, you can saute the sausages first so that they cook faster in the sauce.) Serve the meatballs and sausages on soft rolls with blue cheese sauce (1/2 cup plain yogurt mixed with 1/4 cup crumbled blue cheese, a small squeeze lemon juice and a sprinkle of salt and pepper) and celery sticks for full effect.

Tuesday, July 6, 2010

Pulled Pork Sandwiches with Peach-Habanero BBQ Sauce

Pulled Pork Sandwiches are one of my favorite BBQ foods. It takes some planning and work before hand, but unlike easier BBQ fare like burgers and dogs, there is no work to be done at the last minute. It is a meal that works particularly well for a crowd since you aren't slaving over a hot grill while your guests are busy drinking all your booze. I learned that no good deed goes unpunished when I served a boatload of these sandwiches to a handful of my good friends, a big crowd of new faces, and a quite a number of enormous tools for a BBQ on Corcoran Street this past weekend. The Peach-Habanero sauce is an amazing blend of sweet and spicy and the flavors really compliment the tender pulled pork. I think the sauce would certainly work nicely on chicken too. I start with pork butts, brine them, slow roast them, and then place them in a crock pot for easy buffet service. I think these turned out pretty delicious and I served them on hamburger rolls with Jackie Carl’s fantastic Asian Slaw on top. Every last bit was eaten up! Shout-out to the Chicago architecture scene, where they apparently love eating and cooking as much as I do!Pulled Pork Sandwiches with Peach-Habanero BBQ Sauce
3 6-7 lb. pork butts
Brine:
1/2 cup white sugar
1/2 cup kosher salt
6 bay leaves
1 teaspoon whole peppercorns
1 teaspoon red pepper flakes
2 quarts cold water
Dry Rub:
1 cup dark brown sugar
1/2 cup paprika
1/2 cup mustard powder
1/2 cup kosher salt
1 Tablespoon Cayenne pepper
1 teaspoon powdered ginger
1 teaspoon red pepper flakes
Peach-Habanero BBQ Sauce:
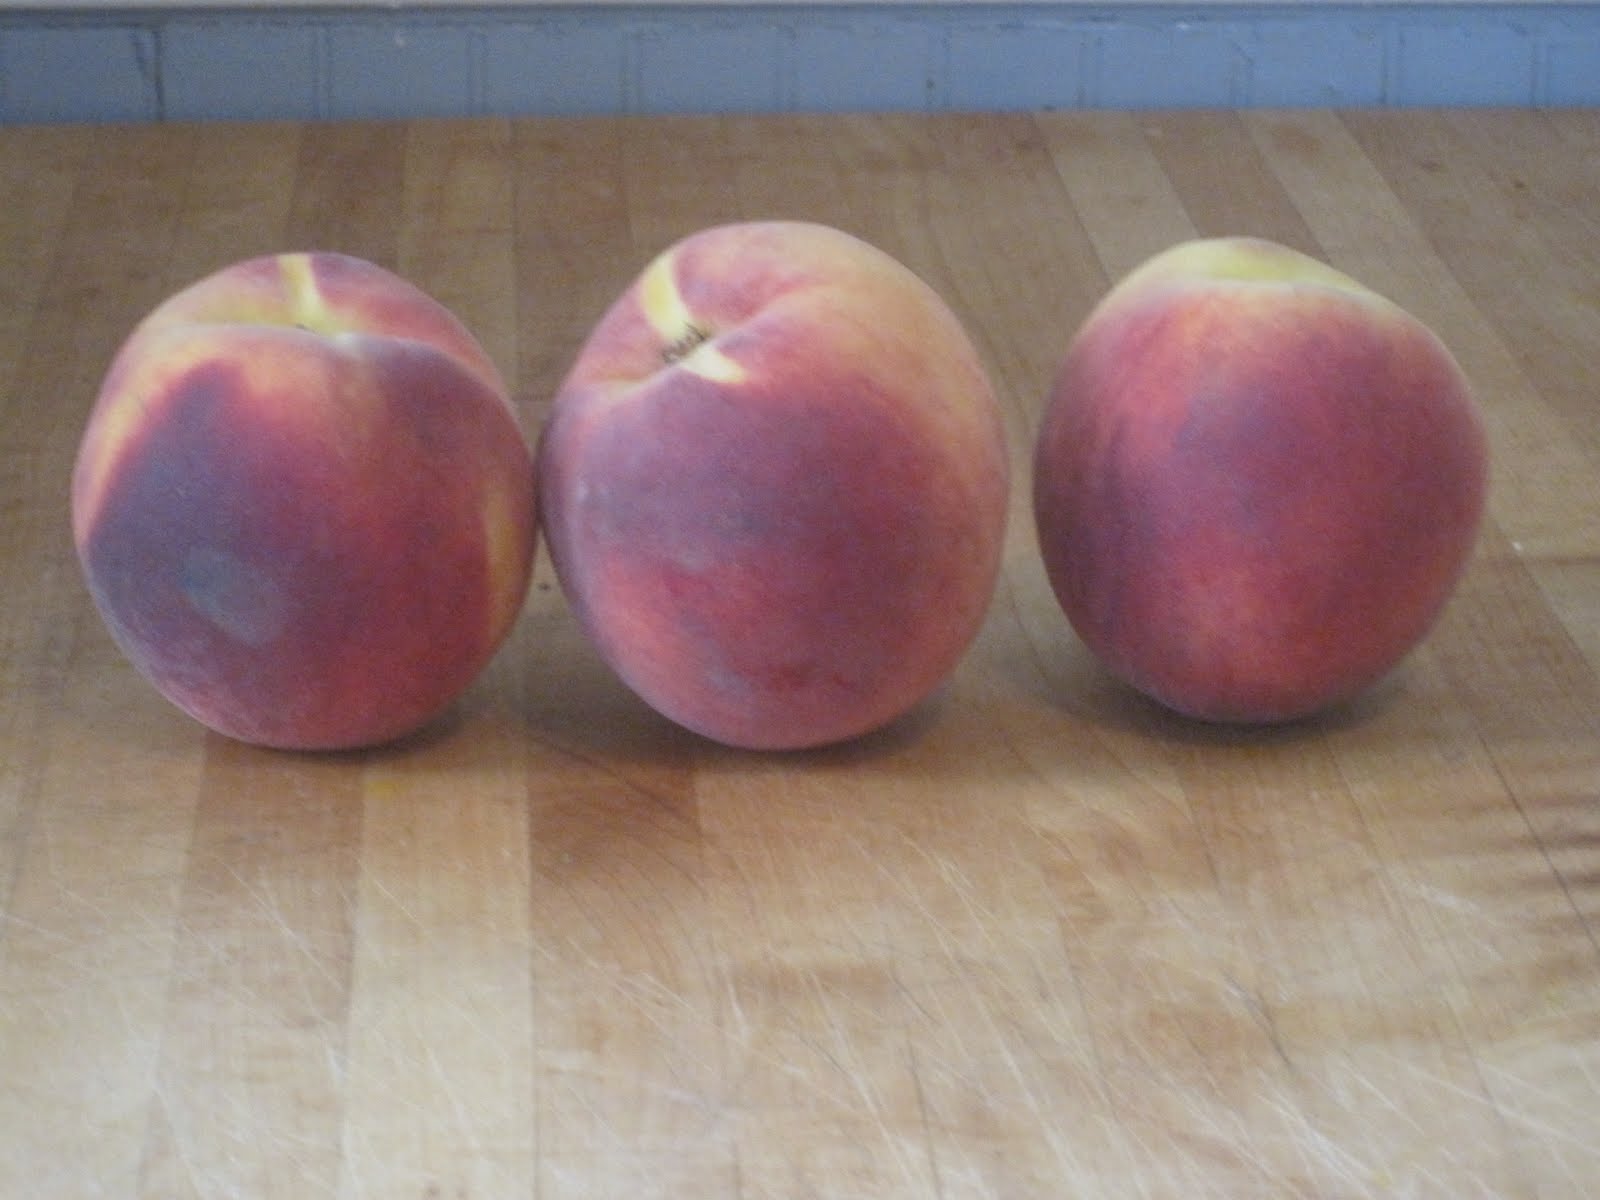
3 peaches
1 Vidalia onion
1 pinch Habanero powder
1 1/2 cups ginger ale
1 cup ketchup

1. Make the brine by combining white sugar and salt in a large pitcher with 2 quarts of water and stirring until the sugar and salt are dissolved. Add the peppercorns and red pepper flakes.
2. Place each pork butt into a large plastic freezer bag and add 2 bay leaves to each bag. Pour 1/3 of the brine into each bag and seal. Brine the pork in the fridge for 12-24 hours.
3. Make the dry rub by combining paprika, mustard powder, ginger, cayenne, salt, and brown sugar in a bowl and mixing them together.
4. Remove the pork from the brine and rinse very well in cold water. Pat the pork butts dry with a paper towel so that the dry rub will stick.
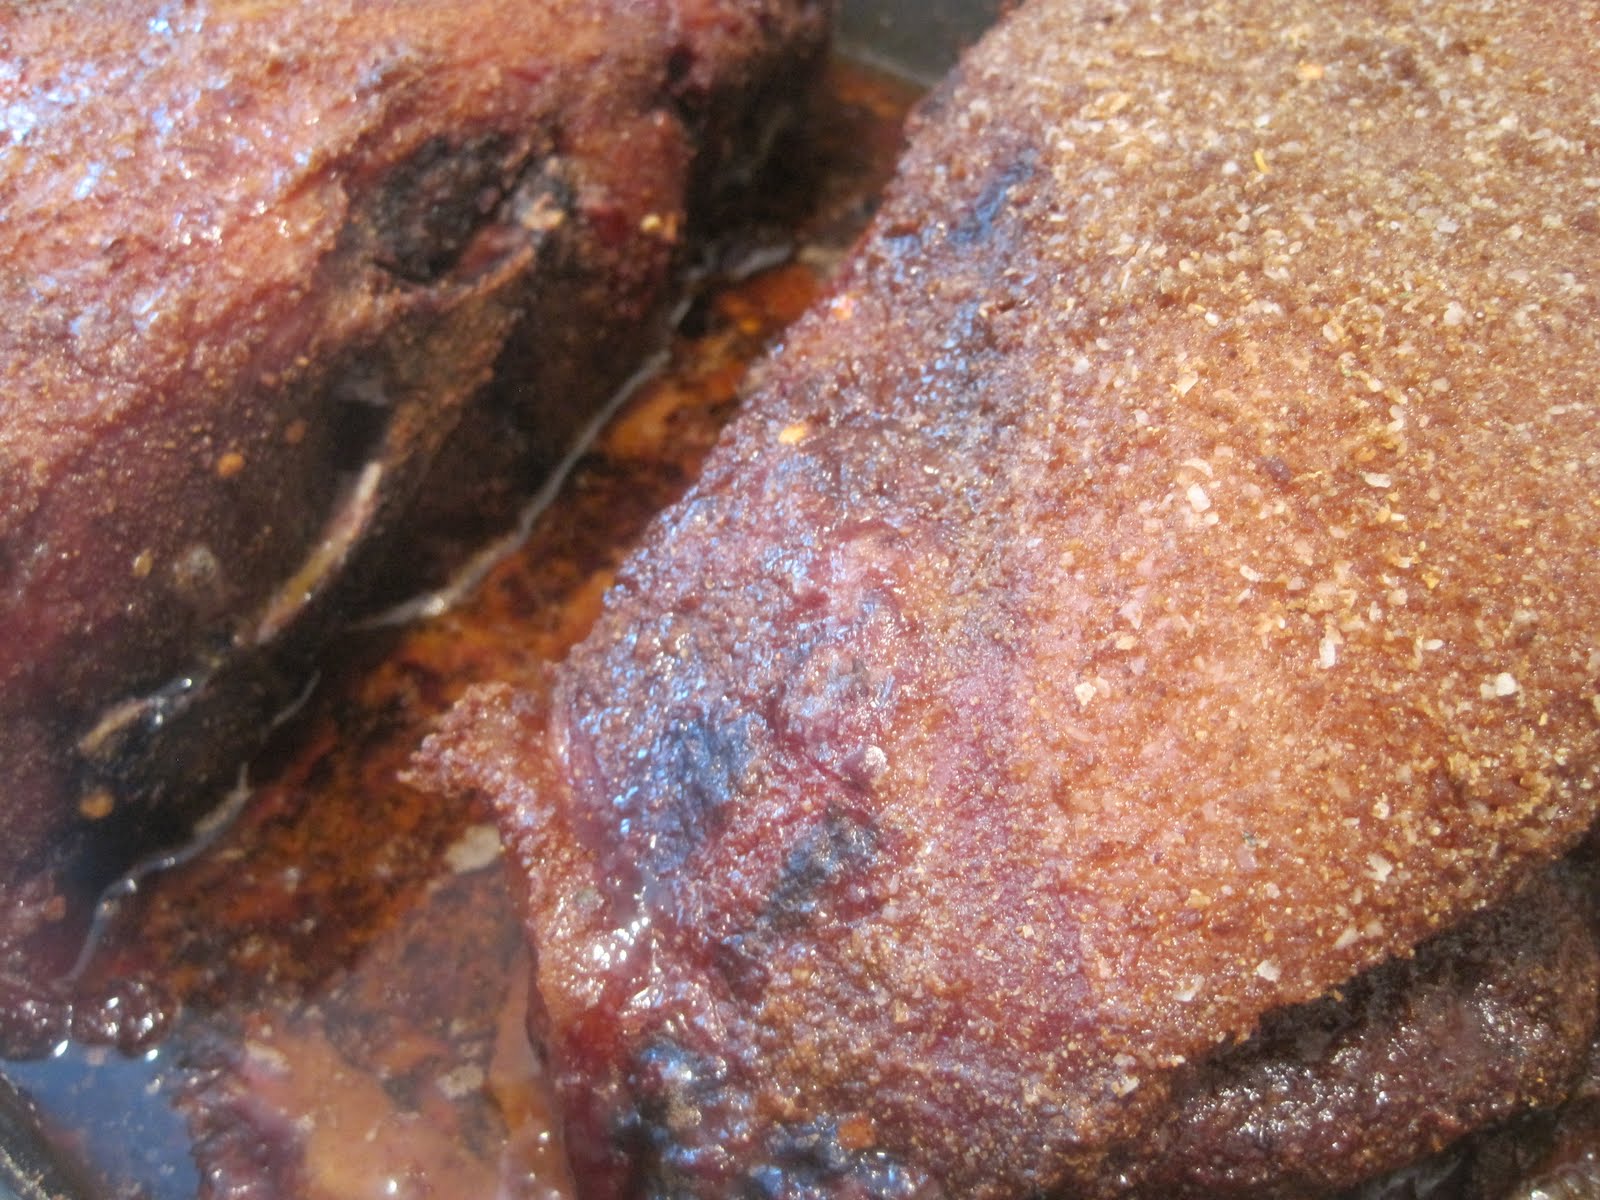
5. Rub the pork all over with the dry rub, getting into all the nooks and crannys. Get nice and familiar with your pork butts and give them a very thick coating. This will form the most delicious crust on your meat.
6. Roast the pork, fat-side-up, uncovered at 225 degrees overnight. At such a low temperature, the cooking time will not be perfectly exact. About 12-13 hours should do the trick. I inserted a thermometer into the meat and cooked it until the thermometer was at 190 degrees and the pork was falling off the bone.
7. Make the sauce by peeling and slicing the peaches into cubes (you could probably use a bag of frozen peaches for this too).
8. In a saucepan saute peaches and sliced Vidalia onion with salt and pepper for about 10 minutes.
9. Add 1 cup ginger ale and continue to cook for 20 minutes until very tender.
10. Place this mixture into a blender with a cup of ketchup and blitz until smooth.
11. Return the mixture to the saucepan and add another 1/2 cup ginger ale and the pinch of Habanero power (I have a small jar of Habanero Powder and the stuff is POTENT. The tiniest pinch gives the sauce an amazing, but manageable, heat). Cook on low for about an hour until thick and delicious.
12. Remove the pork from the oven and allow to rest for 10 minutes until you can stand to handle it (it will be HOT).
13. Remove the pork to another dish and discard the melted fat at the bottom of the roasting pans. Use two forks to pull apart the meat, removing the top layer of fat and bone. The pork should be forking apart easily, but may have some fat so I tried to remove it as best I could.
14. If serving to a crowd, place the pulled pork pieces in a crock pot and combine with BBQ sauce. It will only be enough for a light coating. I didn’t want to mask the amazing, slow cooked pork, just compliment it. Set the crock pot to warm and put out with rolls and slaw.
15. Enjoy (thanks to Erin for being such a great pork model AND for the yummy bean dip)!
My very extra special thanks to Sarah, Jackie, Luis, Matt, Pete and Mark for bringing amazing food and helping so much with the BBQ. I'm lucky to have such good looking and talented friends :)

Friday, June 11, 2010

Portobello Mushroom Sliders

This recipe was born out of one thing: hunger. I got home from our 6 hour drive from Nags Head totally beat and looking for a quick fix. Like Old Mother Hubbard before me, my cupboard was bare. Some extensive refrigerator rummaging produced two Portobello mushrooms and a lemon. “Grill them for burgers,” thought I. But then…no buns!! I did have little slider buns (I happen to live with the slider queen of DC). Thus Portobello Mushroom Sliders were born. I actually think they are super adorable and I will be making them for my next party. I predict that carnivores and vegetarians alike will be swarming around the tray to get a tasty bite. The sharp lemon marinade makes these little sliders really pop in your mouth. I will probably try and substitute regular button mushrooms next time so that I can skip the whole cutting up portabellas, but I do really enjoy the meaty texture from these granddaddy shrooms. You could always just cut the mushroom in quarters and not have perfect circles. Maybe that is the best compromise.
Portobello Mushroom Sliders
Ingredients:
2 Portobello Mushrooms
1 lemon
1 fat clove garlic
2 Tablespoons light mayonnaise
Olive oil
8 basil or baby spinach leaves
8 slider buns (I use Martin’s Potato mini-rolls)

1. Clean the mushrooms with a damp paper towel and cut out circles with a 1 inch circle cookie cutter (I use the “O” from my alphabet cookie cutter set). Again, button mushrooms can be substituted or just cut them in quarters and don’t worry about having circular “burgers.”
2. Zest the lemon and finely grate the garlic onto a cutting board.
3. To make the zesty mayo that you’ll spread on your buns, combine a pinch of the zest and pinch of grated garlic with the mayonnaise to lightly flavor. Add about 1 teaspoon of lemon juice and a sprinkle of salt and pepper and mix until smooth.
4. In another bowl, you will make a marinade for the mushrooms by combining the rest of the zest, garlic, the juice the rest of the lemon and 2 Tablespoons olive oil with a sprinkle of salt and pepper in a small bowl.
5. Add the mushroom discs to this mixture and let sit for a few minutes.
6. Grill the mushroom discs on a grill pan or skillet on high heat for about 2-3 minutes per side.
7. Place mushroom sliders on the buns with a dollop of lemon-mayo. Top each slider with a basil or spinach leaf and they are ready for their close-up.

In case you were wondering, on our vacation we saw SJP's stand-in from the SATC2 movie on location in Morocco along with Matt Damon's stunt double for his latest Bourne flick.

Thursday, June 3, 2010

Steakhouse Sandwich with Blue Cheese Sauce

As an ardent lover of all things Philadelphia, I couldn’t bring myself to call this a cheesesteak sandwich as it bears almost no resemblance to its distant cousin from South Philly. Perfect as a Philly steak is, this sandwich is all together different and satisfies my steakhouse cravings without the need to leave my house or fire up the grill. Think juicy slices of seared ribeye with sweet caramelized onions and a tangy blue cheese sauce. Mark even lets me watch gLee without complaining (too much) when I make him this dinner. Just think of all the wonderful things you will get from your friends when you make it for them…
Steakhouse Sandwich with Blue Cheese Sauce
Ingredients:
1 inch thick Ribeye steak (it was on sale this week, but other steaks would work)
1 small red onion
1 tablespoon balsamic vinegar
1/2 cup blue cheese
1/2 cup plain yogurt
1 Tablespoon chives
1/2 cup arugula or bitter lettuce mix
2 long rolls or 1 bagette cut in half
Salt and pepper

1. Preheat the oven to 450 degrees and take your steak out of the fridge to take the chill off while you get the caramelized onions started.
2. Chop onion in thin slices and sauté on medium heat with about 2 tsp. olive oil (don’t add salt yet).
3. After about 5 minutes in the oil, turn down the heat to low and add 1Tbs. balsamic vinegar and a pinch of salt and pepper. Let this simmer while you make the steak.
4. Heat a 2-3 Tablespoons of olive oil on very high heat in an oven-ready skillet (cast iron or stainless work great).
5. Rub both sides of the steak generously with salt and pepper.
6. When the oil is very hot, place the steak in the pan and do not move it for 2 minutes.
7. Flip your steak and resist the urge to move it again for another 2 minutes. This forms a beautiful crust on your meat.
8. Turn off the heat and put the whole pan in the hot oven for 8 minutes. This will cook the steak to medium rare. The shorter/longer you leave it in the oven, the less/more “done” it will be.
9. Remove the steak from the pan and set it on a cutting board. Cover with foil to rest for 5 minutes before slicing.
10. Make the blue cheese sauce by combining blue cheese and yogurt with chopped chives and a pinch of salt and pepper.
11. Slice the steak into thin strips.
12. Assemble your sandwiches on the rolls (Mark toasted his, but I didn’t) by laying some steak down, dolloping with blue cheese sauce, and sprinkling with caramelized onions and arugula.
13. Devour!